

This week for our #OptInside series we’re sharing some nature based crafts to help spark your creativity. From purple wood-violets peeking out of the soil, to odd-shaped branches surrendering themselves into the leaf-litter of autumn, there are endless supplies that nature provides to help you create amazing crafts.
Sun-Printing
Materials: construction paper, plastic wrap, anything with a unique outline
You know that phenomenon when you take an old picture off the wall, and a dark outline of where the decoration once was remains? This craft is very similar to that. Grab your favorite color of construction paper, and venture off into your yard or neighborhood. Collect leaves (oak & maple leaves work wonderfully), flowers, feathers, or anything else you find appealing on the ground. You can even use things such as necklaces or other items from your home. Arrange them into a design on the construction paper, and carefully flatten with Saran wrap to secure the design. Weigh the masterpiece down with rocks on the corners, and leave this in the sun for multiple days—just be sure rain is not in the forecast! The longer you leave it out, the more vibrant the results will be. Once you lift the materials off of the paper, you will be left with stunning outlines of what you collected.
 Pinecone Bird Feeders
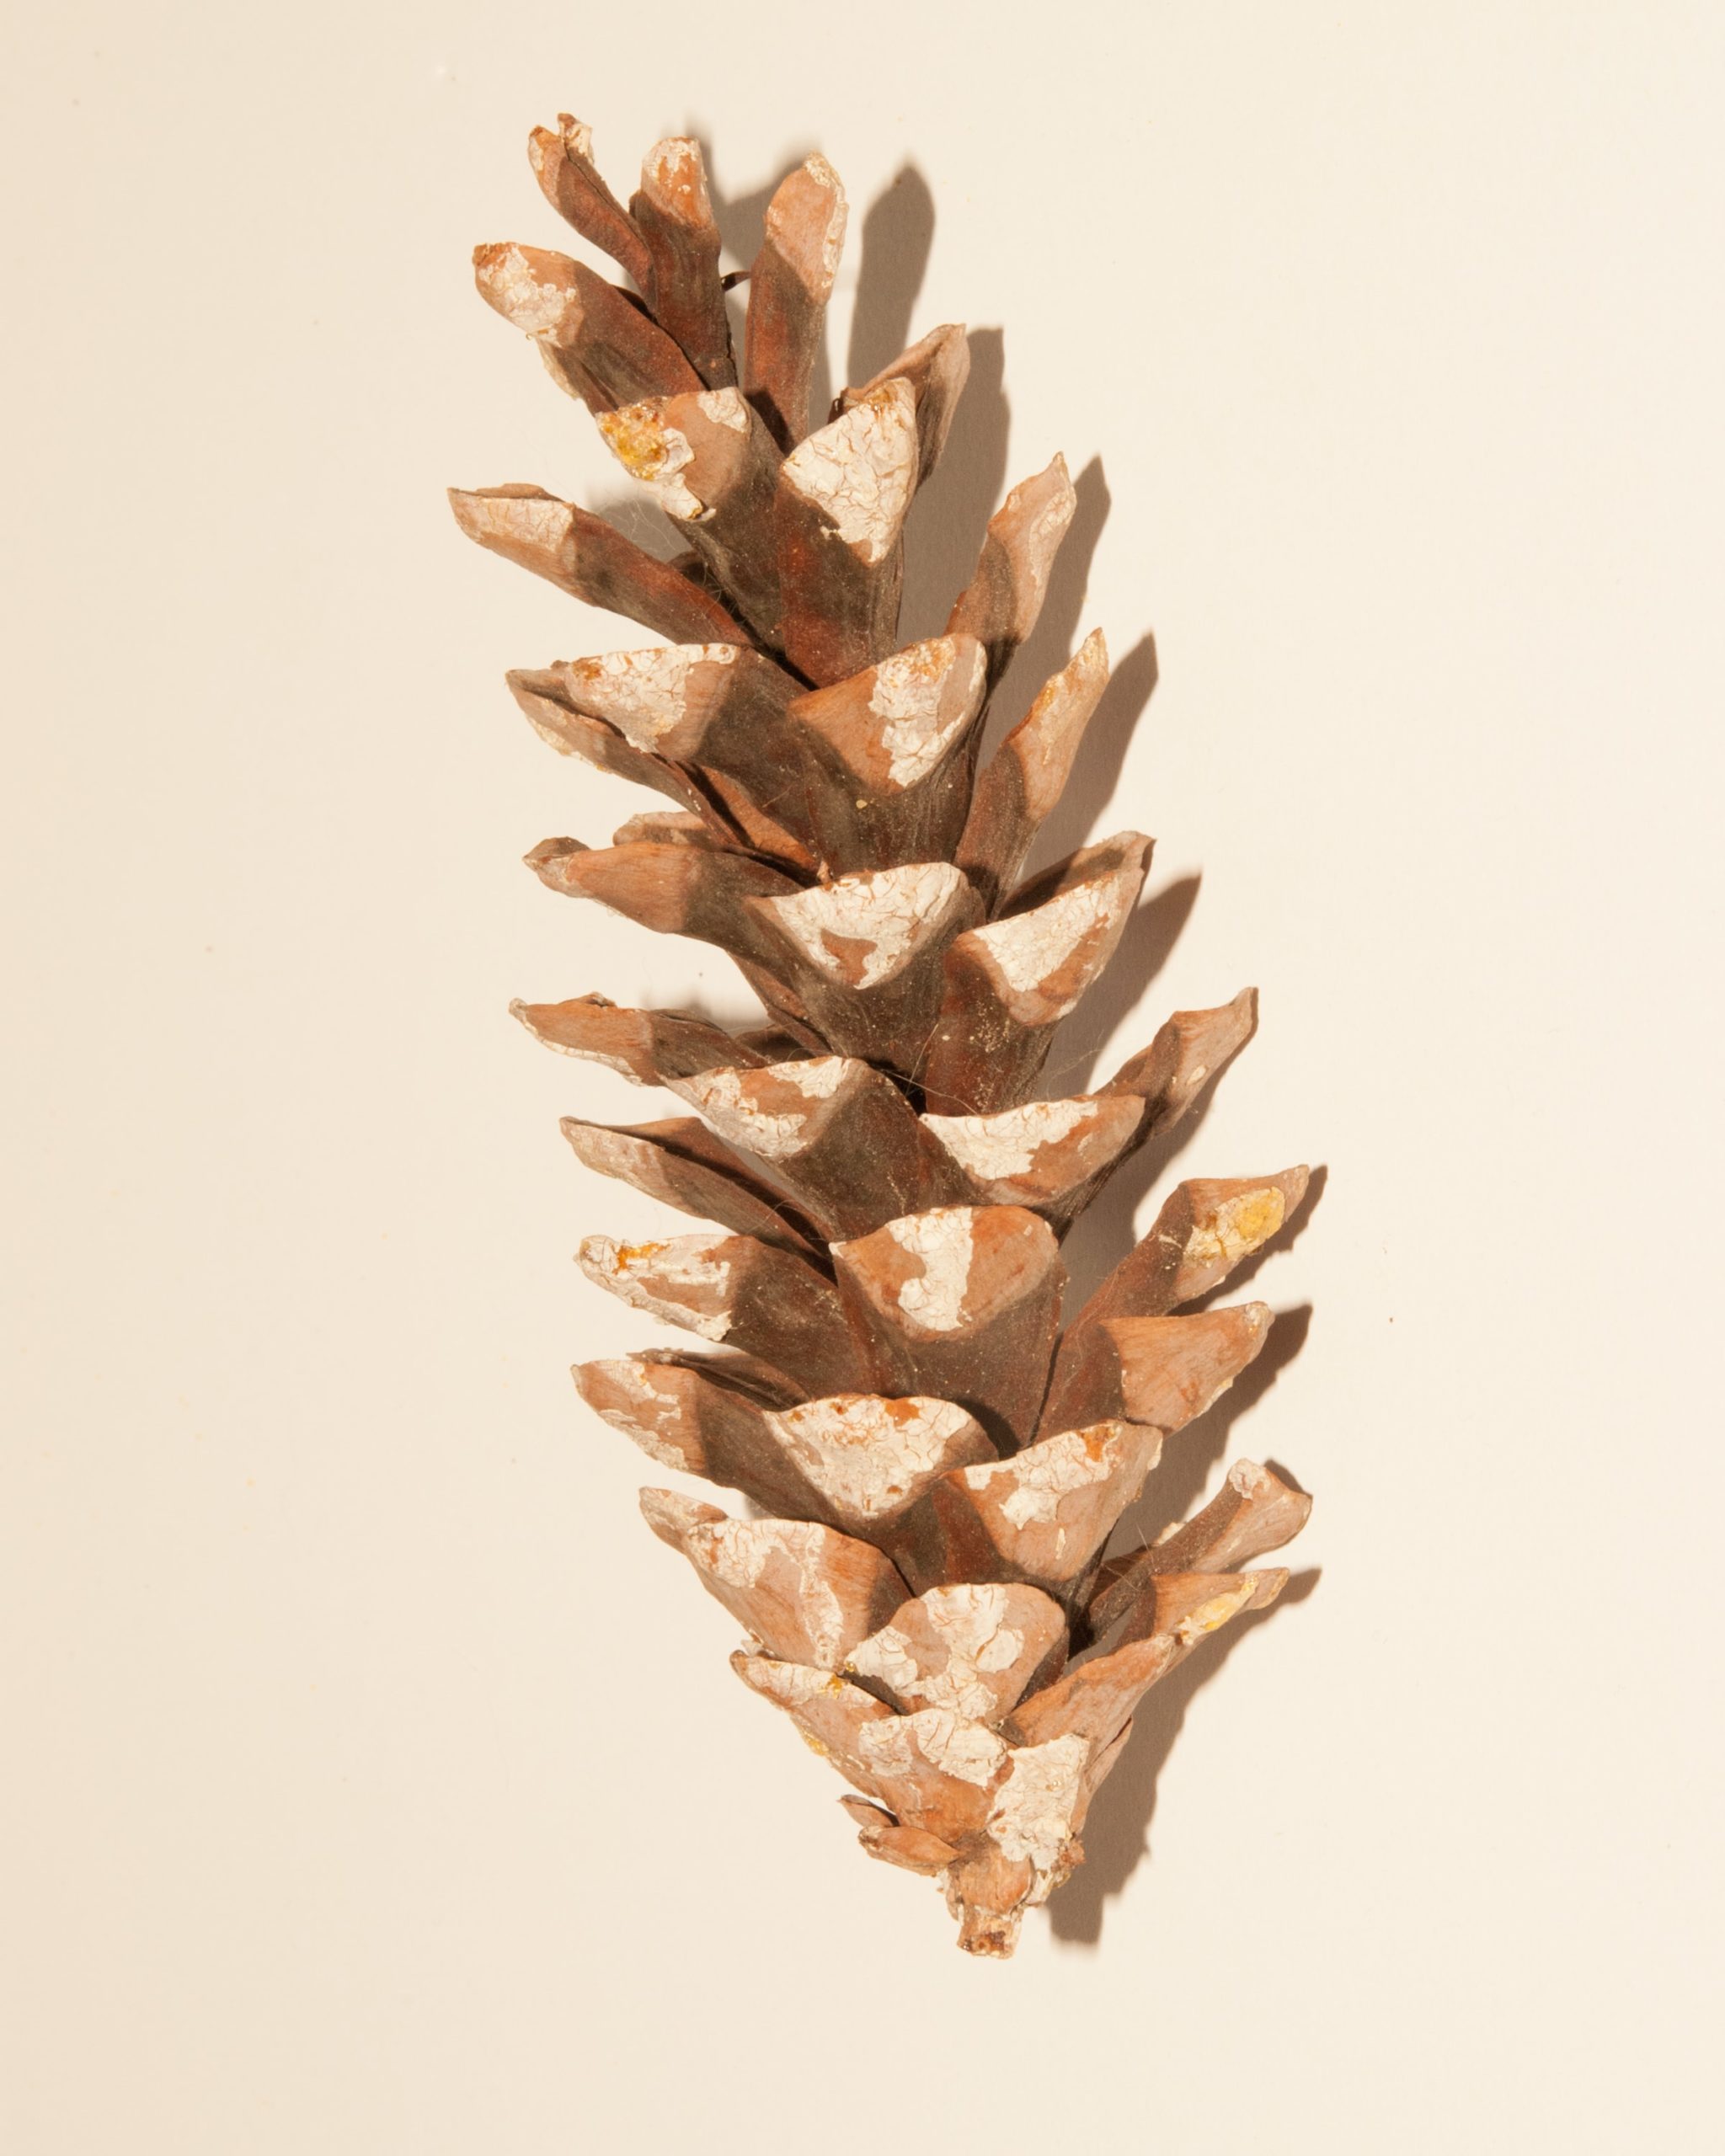
Materials: Pinecones, peanut butter, birdseed, spoon, string, wax paper
This craft is great for bird-watchers, and also provides wildlife with food in the process. Simply collect some pine cones (ones with bigger scales are better, due to more surface area for food), and bring them to your crafting area. Attach a string to the upper part of the pinecone by wrapping it around the stem. Using a spoon or spatula, smear peanut butter over the scales. Sprinkle seeds out on a piece of wax paper and roll the pinecone in it, making sure the seeds stick to the peanut butter. Hang this craft outside on a tree or post, and see what kind of birds enjoy it the most. Pair your bird watching with our Backyard Bird ID to see if you can identify any of the species!
Air Dry Clay
Materials: Air Dry Clay (Crayola offers a nontoxic product), any wilderness materials
Air dry clay is an easy, non-messy material that offers people at any age the ability to be creative. Some options include sculpting a creature from folklore, reimagining an animal that already exists, or imprinting an animal footprint. The last idea also encourages younger audiences to research animal tracks, and potentially even identity them later on. You can decorate the clay with pebbles, sticks, acorns, or anything else you discover!
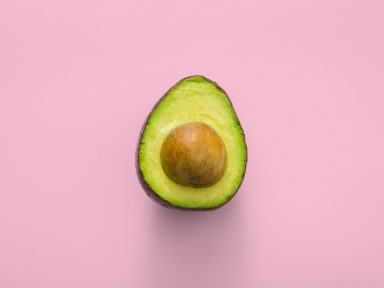 Dyeing with Avocado Pits
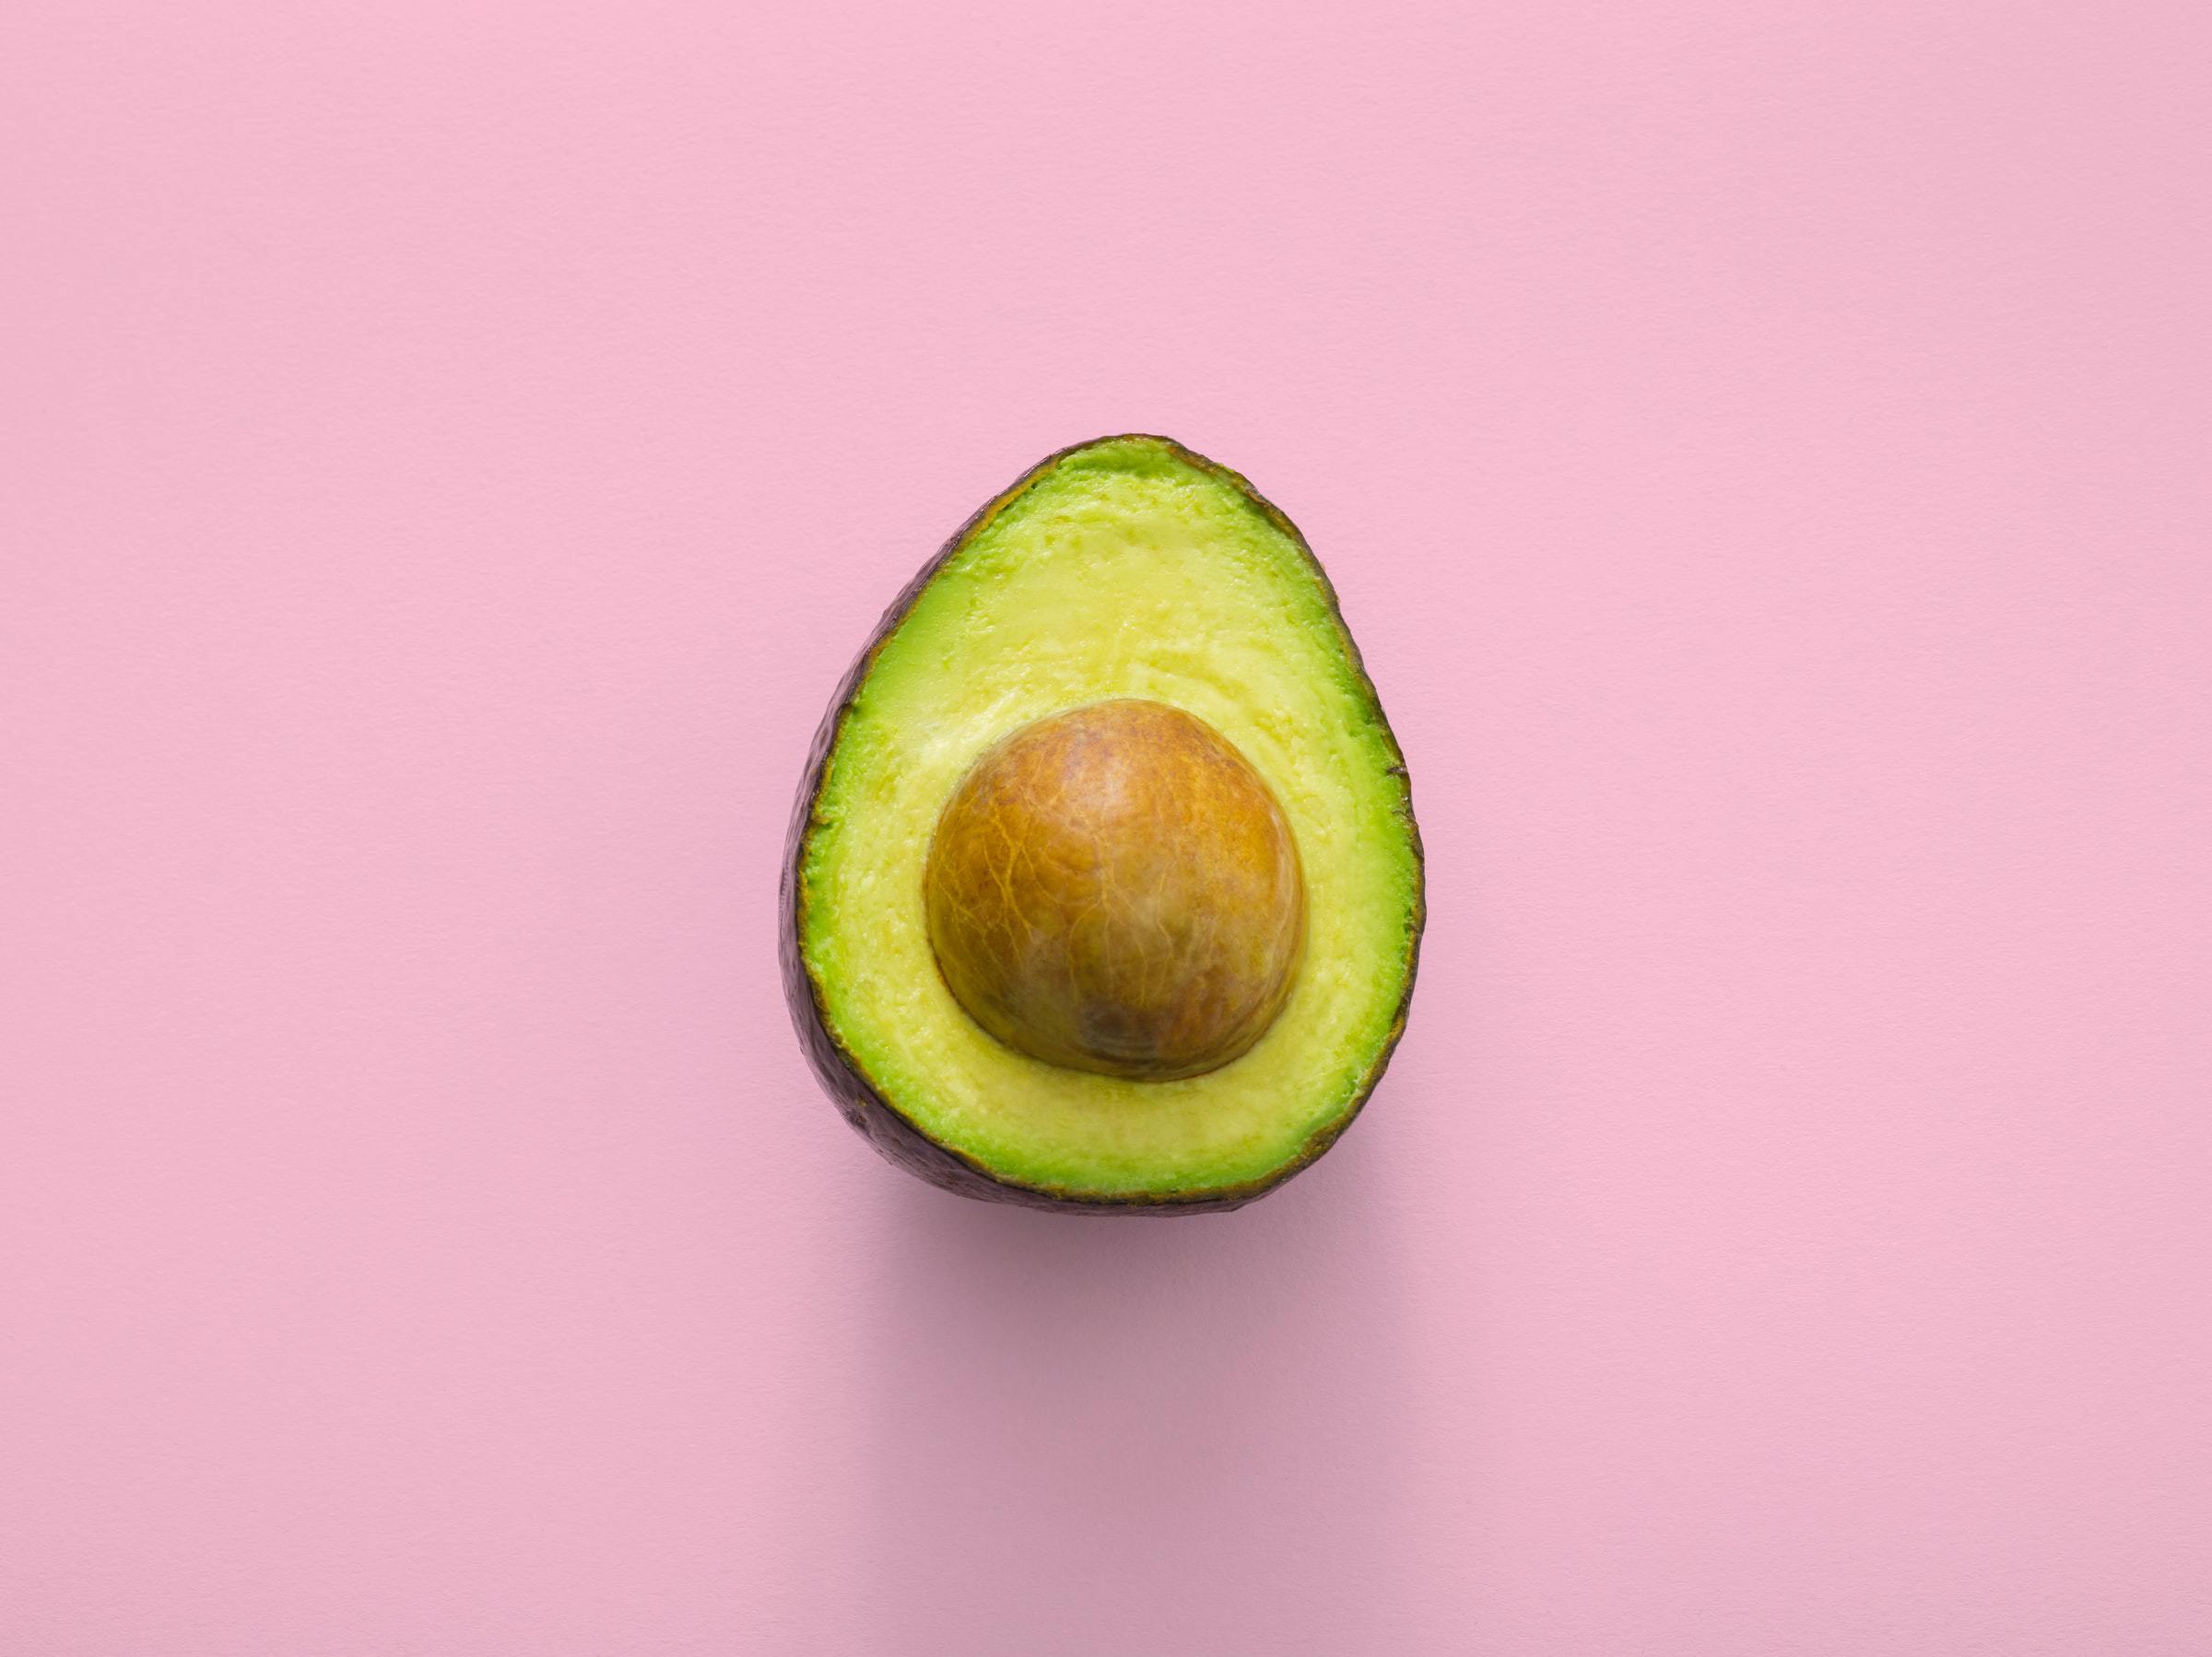
Materials: Avocado pits, water, clean light/white fabrics
A little known fact about avocados is that their pits dispense a beautiful, pinkish color when you simmer them in boiling water. For this project take the pits of avocados, lightly rinse them, and then put them in a pot over the stove. With 4-6 cups of water, simmer the pits for 20-40 minutes. Once the water has reached your desired color, remove from the stove let cool for 10 minutes. Once this is complete, take your clean, white fabrics and let them steep in the mixture for a few hours or overnight. The fabric will start out being a light pink, but will darken depending on how many pits were used and how long the fabric steeps. Remember, more pits = darker shade. Once soaked, let the fabric dry in the sun, then rinse.
Funny Faces on a Log
Materials: Log cut into circular pieces, hot glue, leaves, pine needles, paint, sanding tool
Much like snowflakes, every tree is a little bit different; if you have any logs that can be cut into circular pieces, you can make the tree look even more unique than before. Once you safely cut a trunk of a dead tree (or a log) into disks, it is optional for you to sand down any sharp edges or splinters out of the wood. From here, using a hot glue gun, you can attach plants to make hair, acorns for eyes, or even paint the surface of the disk into a smile. This activity offers a variety of ways to be creative, and is an innovative way to make whimsical home decor.
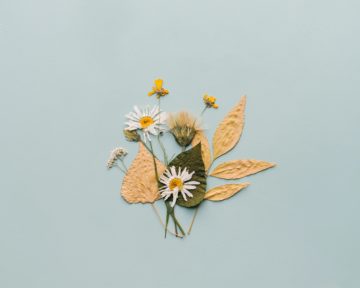 Pressing Flowers (or Leaves)
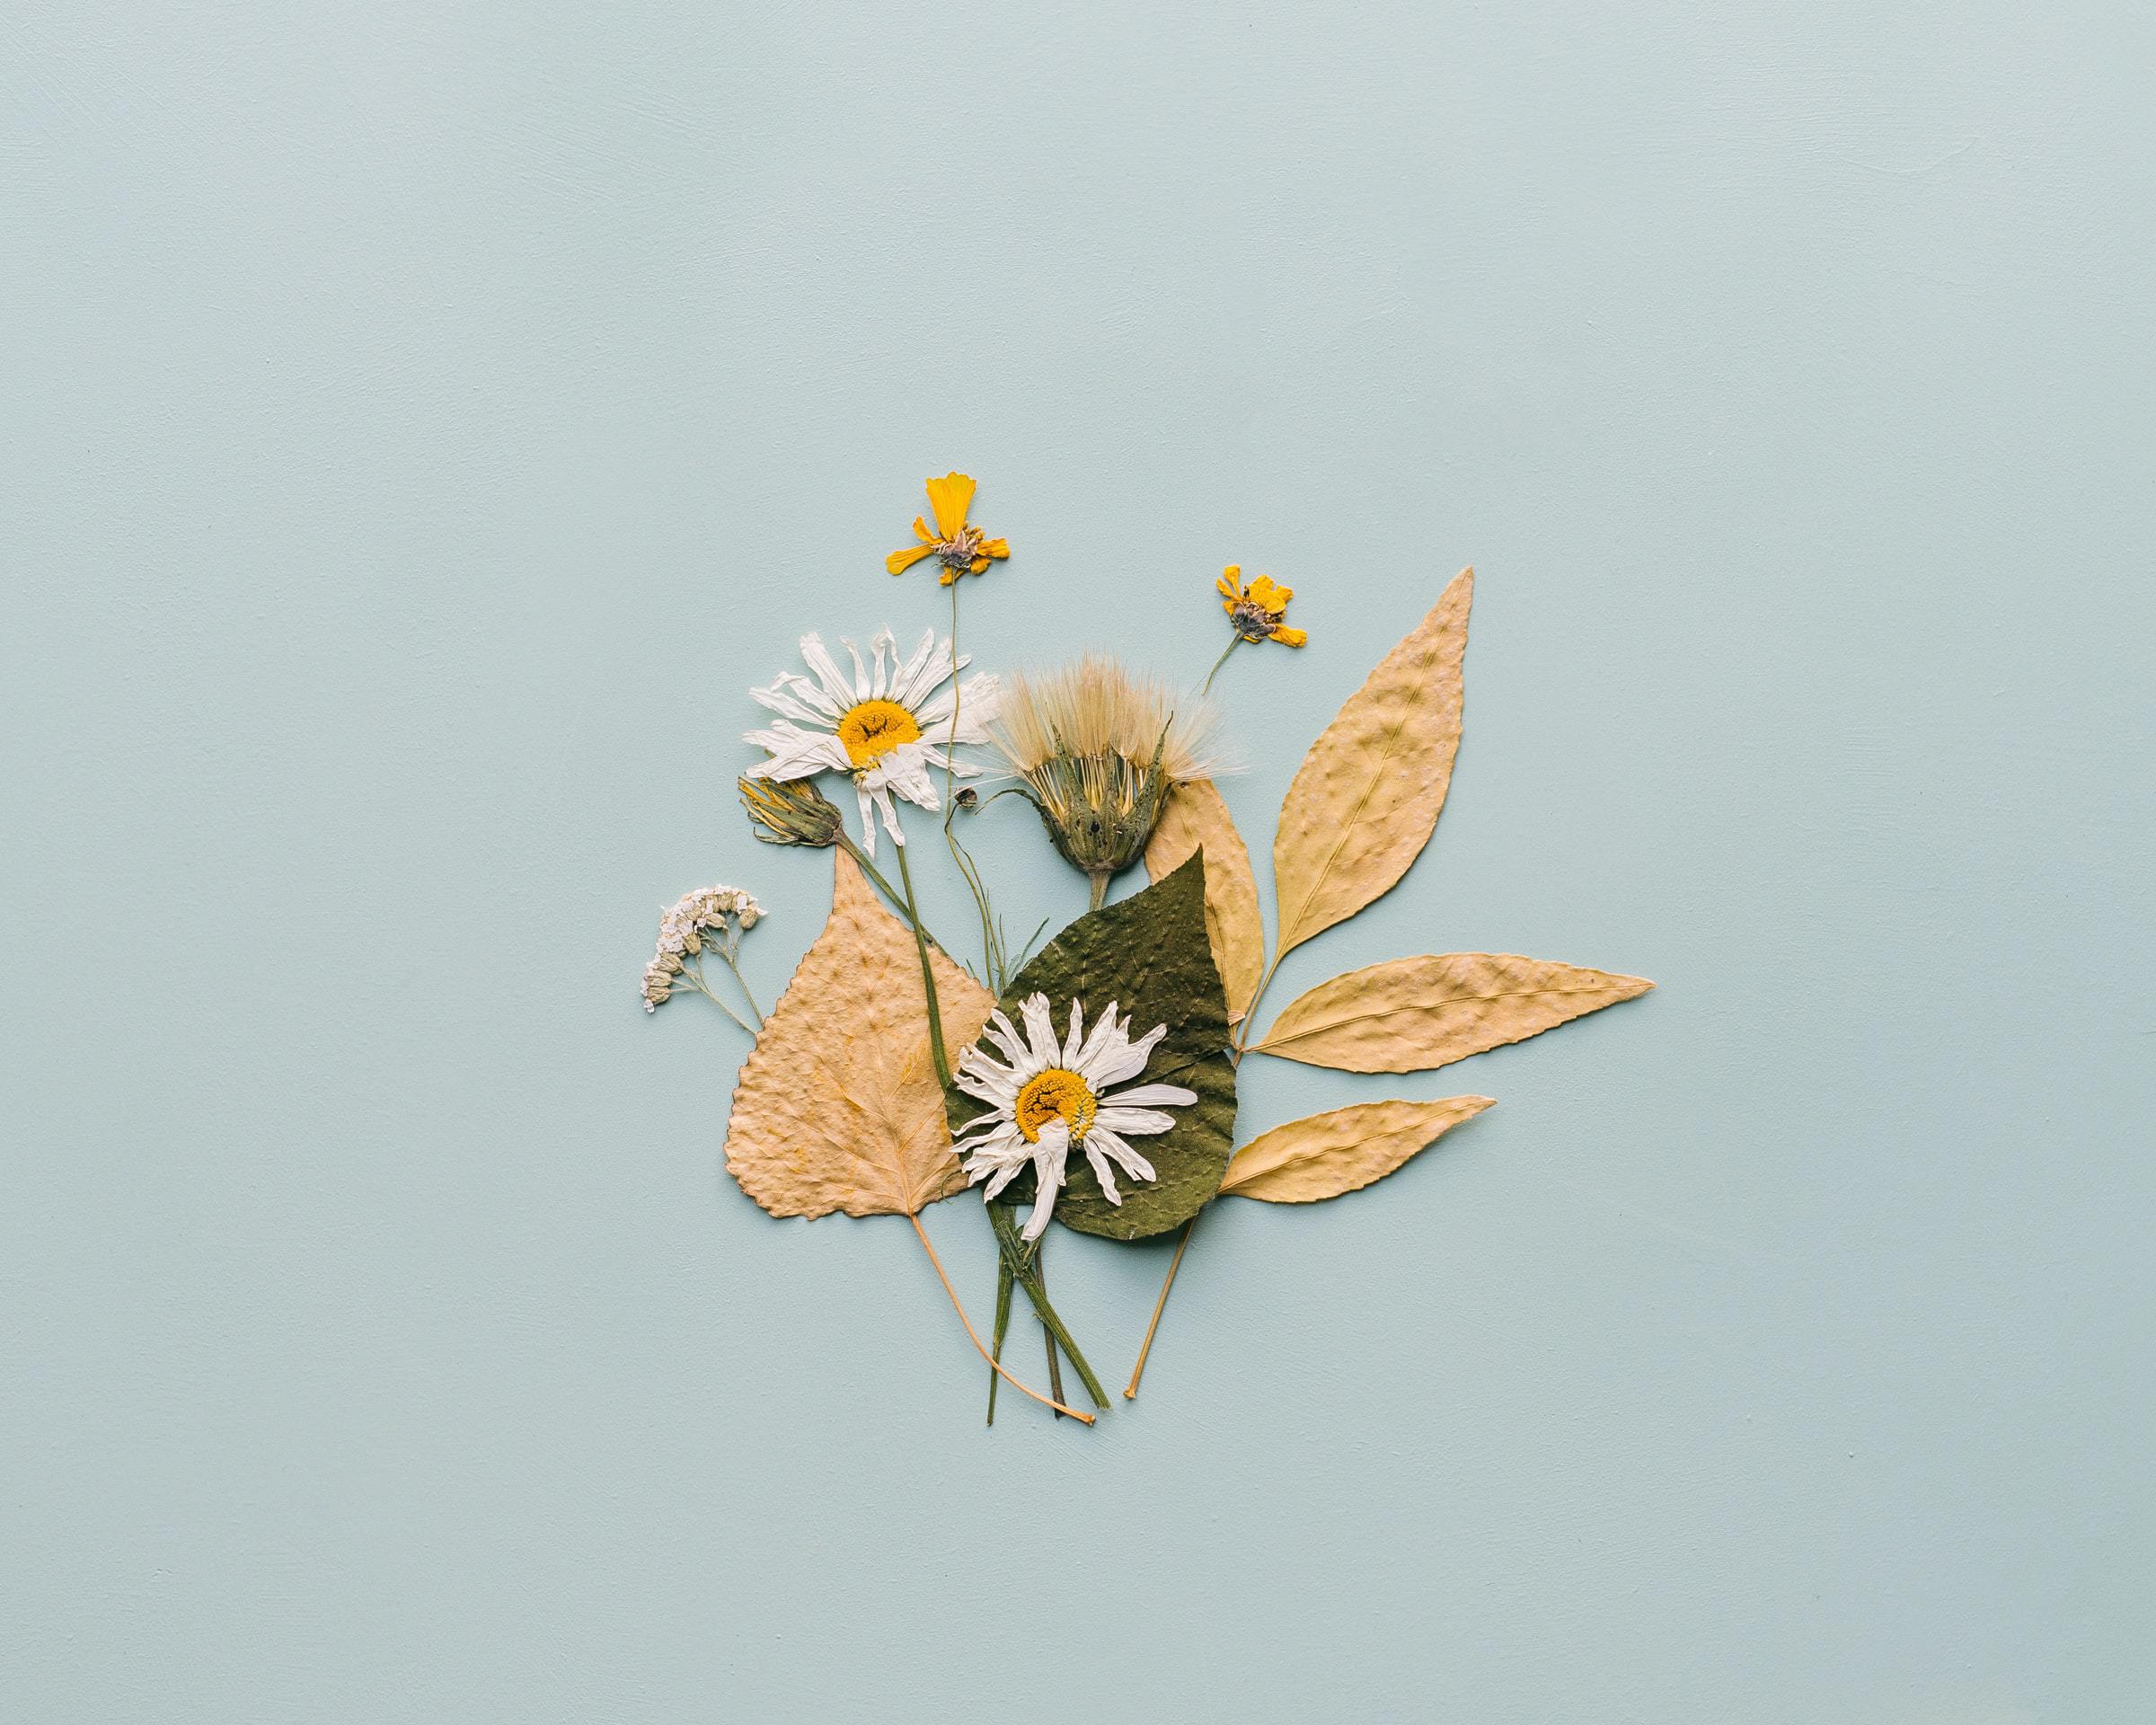
Materials: Flowers, books, paper/book pages, packing tape
The classic way to do this craft is to place a flower or leaf between pages and weigh it down. However, there is another way to do this while maintaining more of the plants’ color. If you place the plant between two pieces of packing tape you stop the oxygenation process from usurping the color of the plant. This way, the plant stays more vibrant. These can make for great framed pieces in your home.
Make Your Own Paintbrushes
Materials: Thin sticks (mostly straight), grass, flowers, pine needles, rubber-bands, paper, acrylic or tempera paint, plastic cups
Who said you need to go to the craft store to stock-up on art supplies? With this activity you can create your own art tools. Collect twigs that are relatively straight, or easy to grip. Also gather grass, flowers, and plants that can offer texture and take these back to your crafting station. Attach the plants to the top of the stick. This step works best with a rubber-band, but string or tape also work. In plastic cups mix paint to make your desired colors. From here you can dunk the paintbrushes into the mixture, and paint away! If you want to be really creative you could even decorate the underside of a large piece of bark!
Leave a Reply